Art Settings
Gain further control of your account through the User Settings

Written by April Martin
Updated at January 17th, 2024
.Art now offers Settings options. These Settings will allow you to update aspects of your account without assistance from Rented Support.
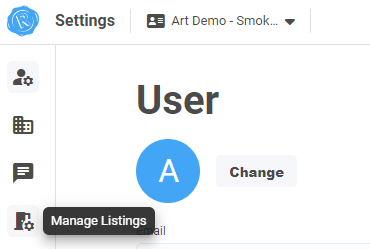
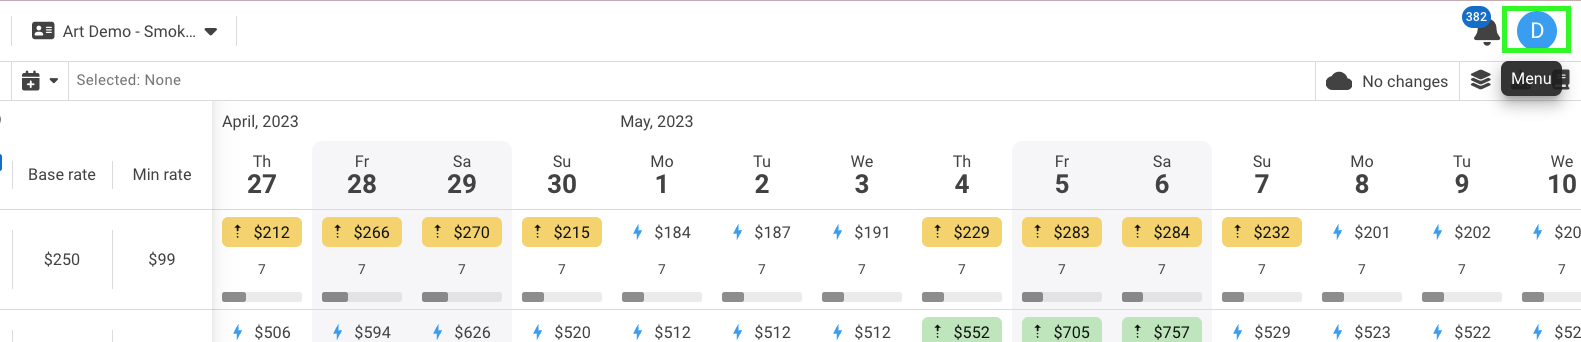
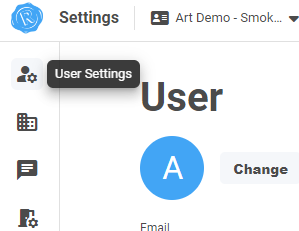
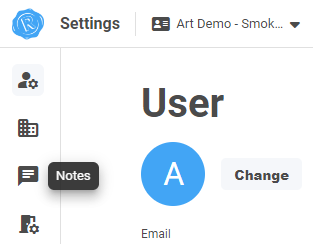
User Settings are located under your user profile in the top right hand corner of your browser.
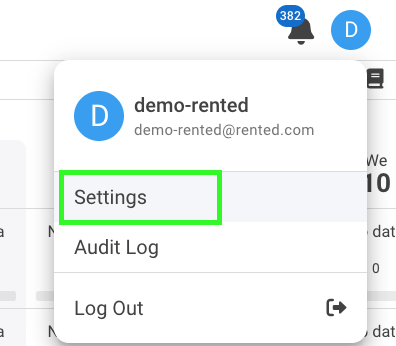
Then select Settings. This will open the Settings options.
Please note that if you do not have access to all these settings you will need to contact support at support@rented.com to get your access updated to Admin.
There are 4 areas within the Settings: User Settings, Account Settings, Notes and Manage Listings.
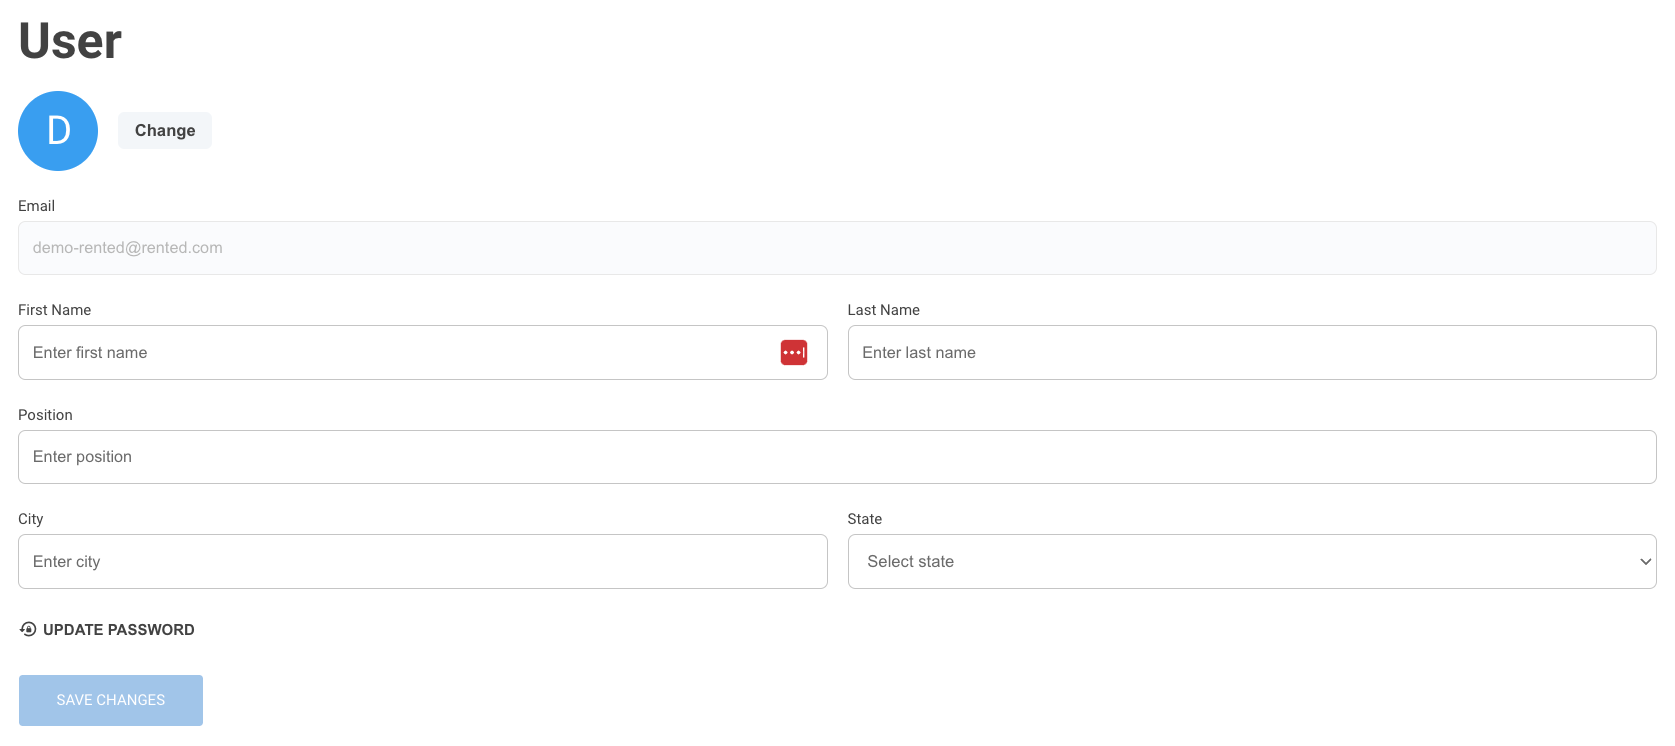
1. Under User Settings you can update your password, add a User profile picture and other information.
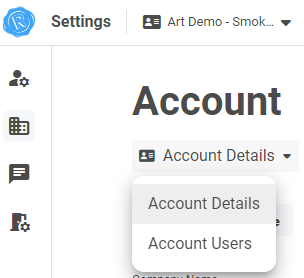
2. Under your Account Settings, you have Account Details and Account Users
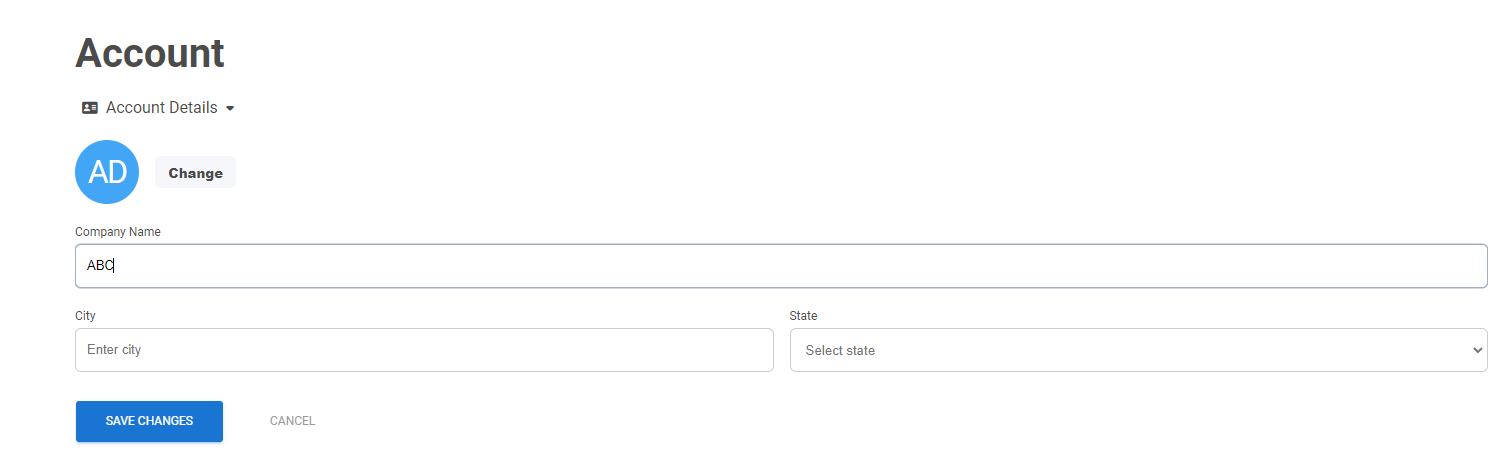
In the Account Details, you can update a company logo or photo and add location information.
In the Account Users, you can Add user. You can also update the access of a user, deactivate and enable a user, just click the Edit button to see the options.

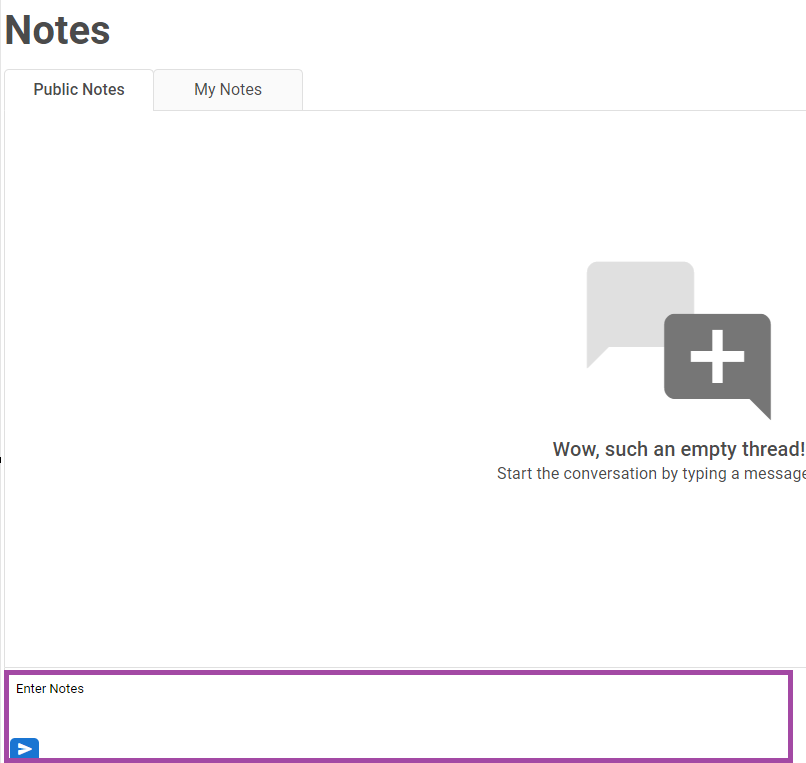
3. In the Notes section, you can add your notes for everyone to see in Public Notes and your own in My notes under this option.
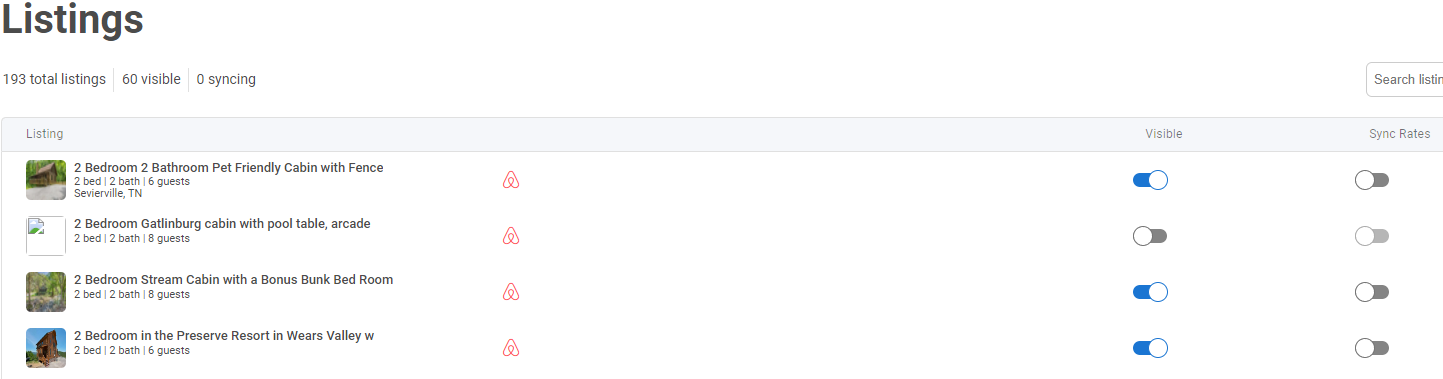
4. In the Manage Listings settings, you're able to activate and deactivate imported properties from the tape chart view by toggling on and off the ‘Visible’ button. You can also activate and deactivate Sync Rates from this screen
Note
In order to sync rates, the property must be set to Visible “On”
To remove listings from the tape chart, it is important that you remove the listings from a Rate Group first (if applicable) and Sync is off before setting the Visible to "off"