How to Integrate Booking Automation with Art
Easy, step-by-step instructions to set up Art with Booking Automation to manage rates and dynamic pricing.

Written by April Martin
Updated at March 22nd, 2023
To sync your listings to Booking Automation and provide live pricing updates, we will need API credentials from your Booking Automation admin account. APIs allow two software solutions to communicate, and keep the data synced between your PMS and Art for live pricing updates. Follow the steps below and then email your token to the Rented Onboarding Team.
Step 1: Latitude & Longitude Set Up
Log into Booking Automation and make sure that the correct latitude and longitude for each of your properties in Booking Automation. This can be set under Settings > Properties > Description.

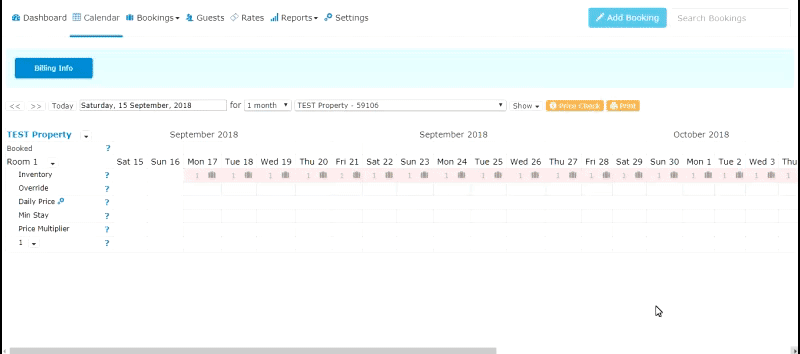
Step 2: Setting Daily Base Rate
Set a daily base rate for each room via the Calendar page for one year from today. To do this go to Calendar > Daily Price and click on any date in the Daily Rate row, enter your price in the pop-up that opens and set the date for one year from today. For your base rates in Booking Automation, we recommend that you set these rates directly in Booking Automation at the high end of the market for each listing as a starting point. Art will provide the dynamic pricing once connected.
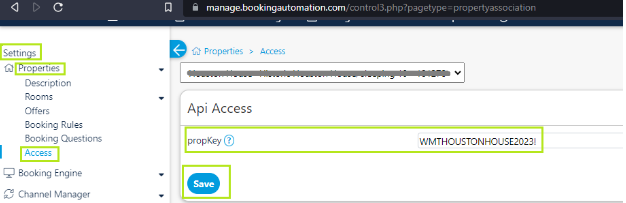
Step 3: Enable API Data
Enable API Access by going to Settings> Account > Account Settings

Scroll down to the next blank API key section.
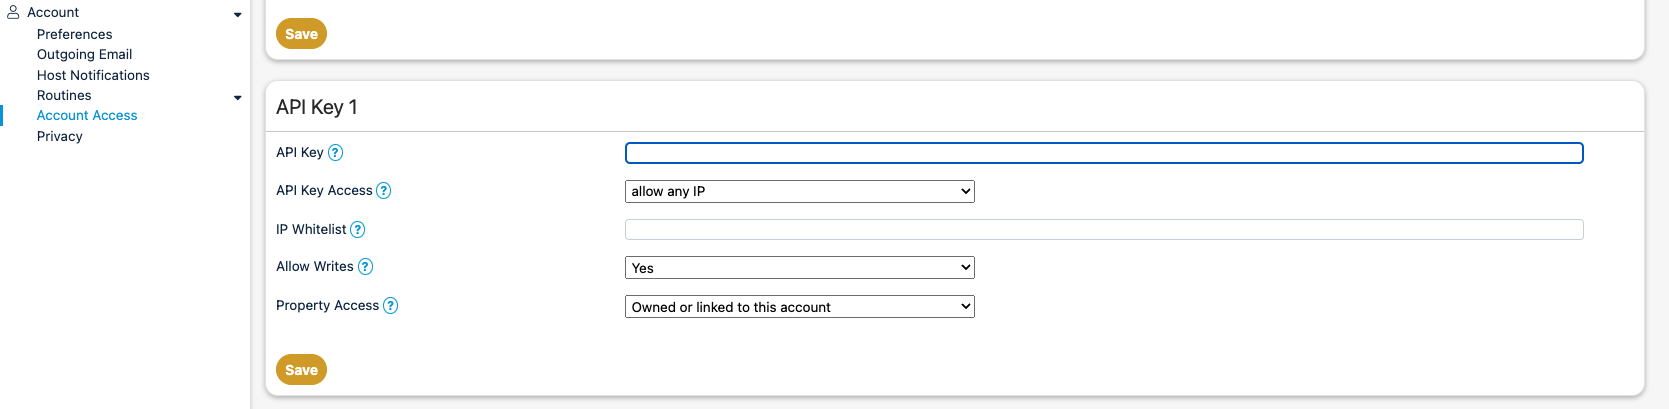
Using a password generator, create a very strong API Key. Should be 32 characters in length. We suggest you use a provider like Password Generator, to ensure you create a unique API Key. Paste the API Key in the available cell.
In the API Access field choose "Allow Any API" then hit Save. Please note, you do not need to put anything in the IP Whitelist box.
.png)
Ensure API Key Access is set to "Allow Any IP," Allow Writes is set to "Yes" and the Property Access is set to "Owned or linked to this account."

When everything is configured, hit Save.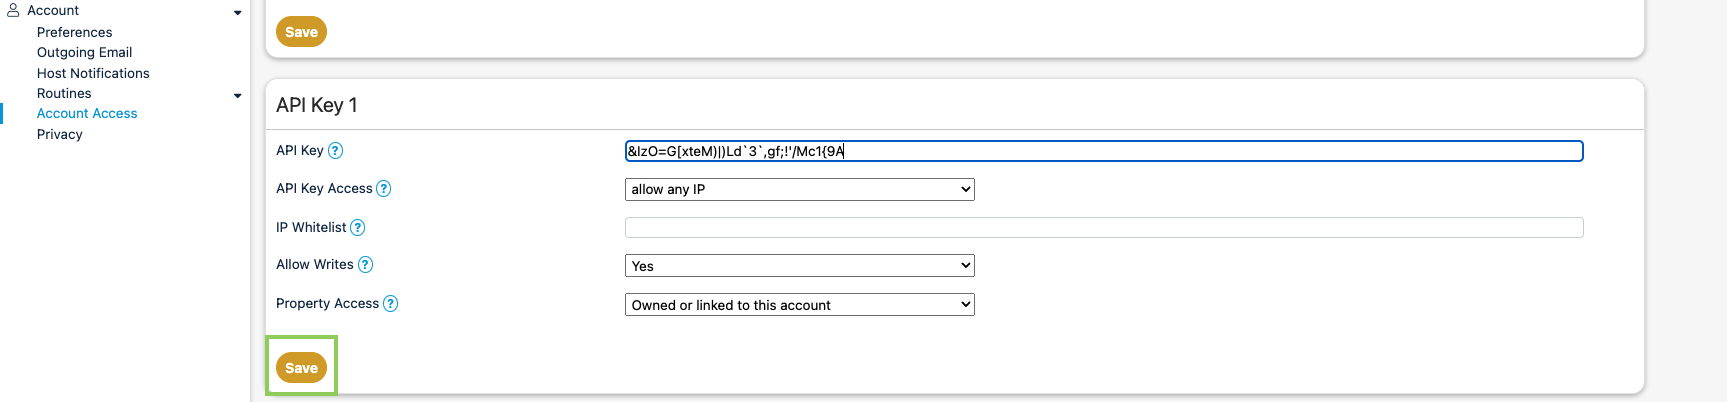
Step 4: Create a user for Rented & Grant Appropriate Access
Create a user profile for the Rented Onboarding team in Booking Automation. Please use the email schema of YourCompanyName-Rented@Rented.com. This user profile should have access to the Account Settings, so our team can complete the integration. For directions on how to create a user profile, please see the "Specify Access Rights" section below. You must also make the properties available for Rented. For directions on how to do this, please see the "Make A Property available in related account" section below. Both of these instructions can also be found in this documentation directly from Booking Automation.
Specify Access and make a property available in a related sub account
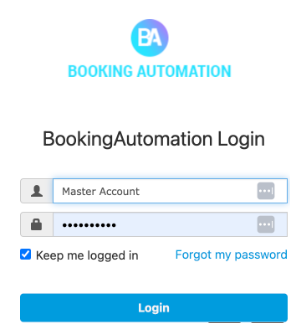
1. Log in to your Master Account
2. Under your Profile, click the Account Management

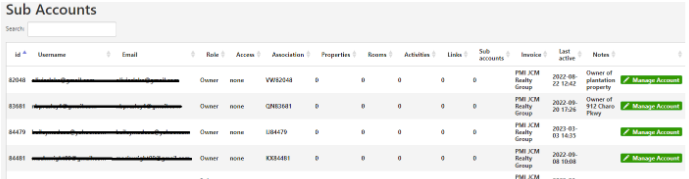
3. Under the account list, search for the sub account.

4. On the right portion of the sub account, look for Manage Account and click it.
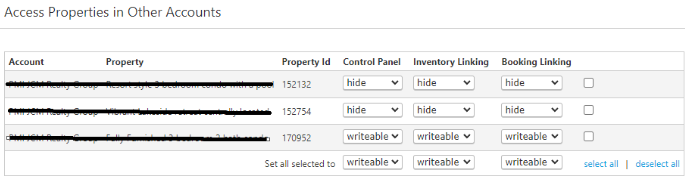
5. Scroll down to "Access Properties in Other Accounts" and select the property you want to change access to writable by clicking the drop down menu then Save.
Step 5: Send Onboarding Team Your API Key & User Profile
Once you have your key saved, send them and the Rented email address and password, to our onboarding team by email here.